Parental control on the Internet
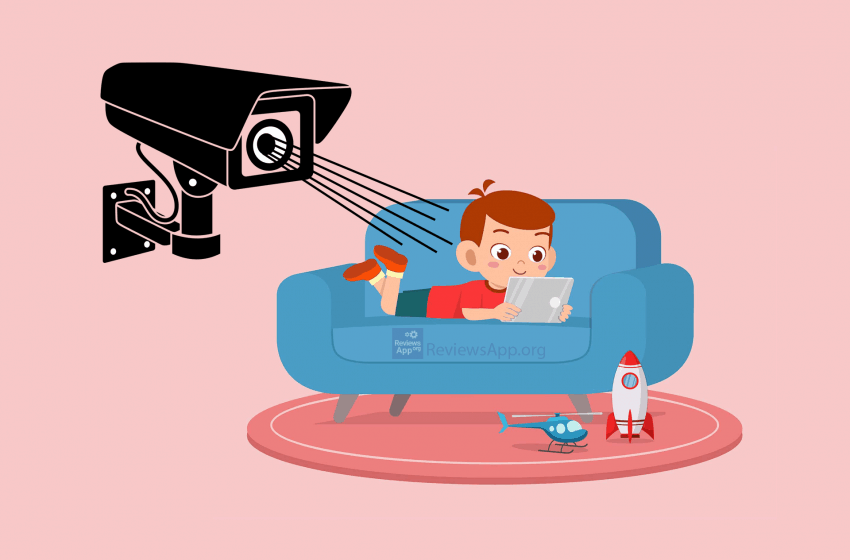
We live in the era of the internet, and it is all but impossible to forbid our children from using it. Aldo, there is a lot of very useful content dedicated for kids like games and learning, there are also internet scams and explicit content that is not for them. Here we come to parental control.
What does parental control do?
Parental control is a tool used for protecting children from certain internet content. It allows restricting time spent online and also filtering content that can be shown to them.
Operating systems with parental control
Almost all operating systems allow some form of parental control. In Windows this option can be turned on in the Control Panel (family options in Windows 10). It supports time restrictions, limits access to certain programs and games. On Android there is Google Family Link that allows blocking of applications on children’s smartphone. It functions by allowing you to set up the PIN code that then automatically filters explicit content. It can block applications, movies, music, and even books that are not meant for them. You can find it in version 7.0 but also in previous versions. When we talk about Apple, there is Screen Time in iOS 12 with similar capabilities as Android.
What are your other possibilities
Following the trends, it’s not surprising that many cable providers also have this option that can block channels and restrict time spent watching TV. If we look at social networks, Facebook’s option “only me” or “friends” restrict content sharing to strangers. The same is true for Instagram with a “private account” and YouTube have a whole spectrum of options in their kids application. Option “approved content only” allows parents the possibility to choose which content they want to be accessible to their children.
Platforms for parental control
With the same goal as in previous examples, there are also browsers dedicated for children such as Buddy Browser, PikLuk, or Shrek Browser, and special programs with the same use.
All with a few clicks
Programs and options for parental control are very easy to use. If you are worried about your child’s safety on the internet, first talk to them and explain the dangers, and then use some of the tools available.
How to Use Google Family Link
Google Family Link is a great way to keep an eye on and limit what your child is doing on the internet, and absolutely for free. To get started, you’ll need both the child and the parent to have a Google account. A parent’s account is just a regular Google account, while a child’s account is an account linked to the parent’s account. Once you’ve created an account for your child, log in with that account on your child’s phone. Note that this must be the only account on that device, that is, there must be no other accounts or Google Family Link will not work.
With Google Family Link, you will be able to limit how many hours a day the child can spend using the phone, as well as determine the period during which they will not be able to use it. For each application, you will be able to determine how much time can be spent in that application, and you will be able to determine which applications the child will be allowed to install and which websites they will be able to go to.
In addition to this, you will be able to see where your child is, that is, where their mobile phone is. When you turn this option on, your child’s phone will turn on GPS and they won’t be able to turn it off without your permission.
We’ve created a step-by-step tutorial to show you all these options so you can easily set up and use Google Family Link.
Video Transcript:
- How to Use Google Family Link
- To use Google Family Link, both the child and the parent must have a Google account. A parent’s account is a regular Google account, while a child’s account is an account linked to the parent’s account.
- We won’t show you how to create a parent account since it’s a regular Google account, but we will show you how to create an account for a child.
- Go to www.google.com and click on Sign in
- Click on Create account
- Click on For my child
- Click on Yes, continue
- Enter your child’s first and last name and click on Next
- Enter your child’s date of birth and select the gender, then click on Next. Keep in mind that Google considers people up to 13 years old to be children.
- Choose what the email address of this account will look like and click on Next
- Choose a password and confirm the password, then click on Next
- Enter the email address or phone number of your parent account and click on Next
- Accept the terms of use and click on Agree
- Enter the password of the parent account you entered and click on Next
- If you have 2-Step Verification, confirm your login
- Click on Next
- Click on Continue
- The account has been created. Now log in with this account on your child’s phone. Note that this must be the only account on that device, that is, there must not be any other account.
- When you log into the account we created on your child’s phone, the Parental Controls application will be automatically downloaded and installed.
- You will need to download and install the Google Family Link app
- Open Play Store
- Type google family link in the search field
- Tap on Install
- Now we’ll show you how to use some of the most important features in Google Family Link. First, we’ll show you how to limit the time your child spends on the phone.
- Tap on Daily limit
- Tap on Monday-Friday
- Choose which days this will be valid for and tap on Done
- Tap on 3 hr
- Choose how many hours a day the child will be able to use the phone, then tap on Done
- Tap on Done
- Now we will show you how to set the time when the child will not be able to use the phone
- Tap on Downtime
- Here we will determine from when to when the child will not be able to use the phone. Tap on Mon-Thur Sun.
- Choose for which days this will be valid for and tap on Done
- Tap on 21:00 p.m
- Choose at what time the restriction will start and tap on Done
- Tap on 07:00
- Choose at what time the restriction will end and tap on Done
- Tap on Done
- Now we’ll show you how to block or limit how much time a child can spend on a particular app
- Tap on App limits
- Here you will find a list of all the apps that are installed on the child’s phone. Tap on the app you want to block or restrict.</li
- Here we have 3 options. The first is Block and this option will block the use of the app, while the last option is Always allow and it will allow unlimited use.
- The Set limit option will allow you to limit the time spent in the application. Tap on Set limit.
- Choose how many hours a day your child will be able to use this app, then tap on Done
- Now we’re going to show you how to block certain websites
- Tap on Content restrictions
- Tap on the Internet browser that is installed on your child’s phone, in our case it is Google Chrome
- Tap on Try to block explicit sites. This option will block websites with explicit content.
- To block access to a specific website, tap on blocked sites
- Tap on ADD A WEBSITE
- Type the URL of the website you want to block
- Tap on SAVE
- You can add an unlimited number of websites here
- Now we will show you how to block the download of certain apps
- Tap on Content restrictions
- Tap on Google Play
- Tap on Apps & games
- Here you can enable the download of apps that have been recommended for a certain number of years. The number next to the PEGI represents the years for which the app is recommended.
- If you want to limit the download of apps that have some kind of payment, tap on Require approval for
- All content means you will have to allow download for any app. Paid content only means that you will have to allow the download of apps that have any type of payment.
- In-app purchases only means that you will only need to allow in-app purchases, and Never means that you will not allow any app to be downloaded.
- The last thing we’re going to show you is how to see your child’s location, that is, their phones location
- Tap on Location
- Tap on Set up location
- Tap on your child’s account
- Tap on Next
- Tap on Turn on
- This will turn on the GPS on your child’s phone and they won’t be able to turn it off
In the download link we offered Google Family Link for Android but if you want to download the version for iOS, please click HERE.

Rate:
 (No Ratings Yet)