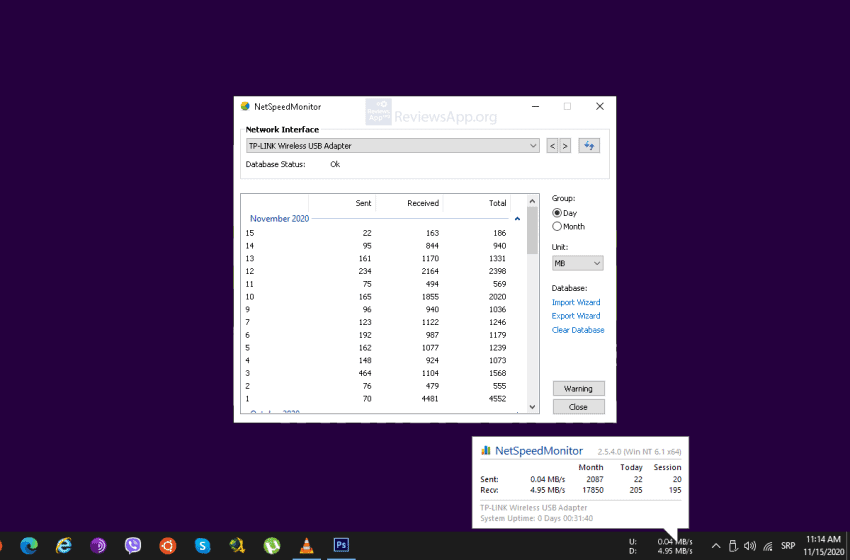
How to Install NetSpeedMonitor in Windows 10

NetSpeedMonitor is a small Windows program that runs in the taskbar (near the clock) and displays your network connection speed in real-time (download and upload speed). NetSpeedMonitor is made for Windows versions 7 and lower, but it can work on Windows 8 and 10 if you activate Compatibility Mode before installation. We have shown how to install NetSpeedMonitor under Windows 10 in the video below.
Video transcript:
- Run Chrome
- Type in netspeedmonitor
- In search results open first link
- Click the download link
- Choose your operating system version, in my case 64bit
- Click on arrow and select Show in folder
- Right click and select Properties
- Click on Compatibility
- Mark Run this program in compatibility mode for then select Previous version of Windows
- Click Apply and then OK
- Double click to start the installation
- Installation does not contain additional programs so you can just go “Next, Next…”
- Click Finish
- Right click on Taskbar
- Hover Toolbars then from dropdown menu choose NetSpeedMonitor


