SideSlide – create additional desktop
We’ve already written about Linkbar and Biniware Run, programs which help us better organize our desktop. These two programs achieve this in very different ways. SideSlide is a free program for Windows 7, 8, and 10, which tries to solve the problem of overcrowded desktop in another way. Namely, SideSlide creates a new mini desktop in which you can store shortcuts, files, folders, and notes.
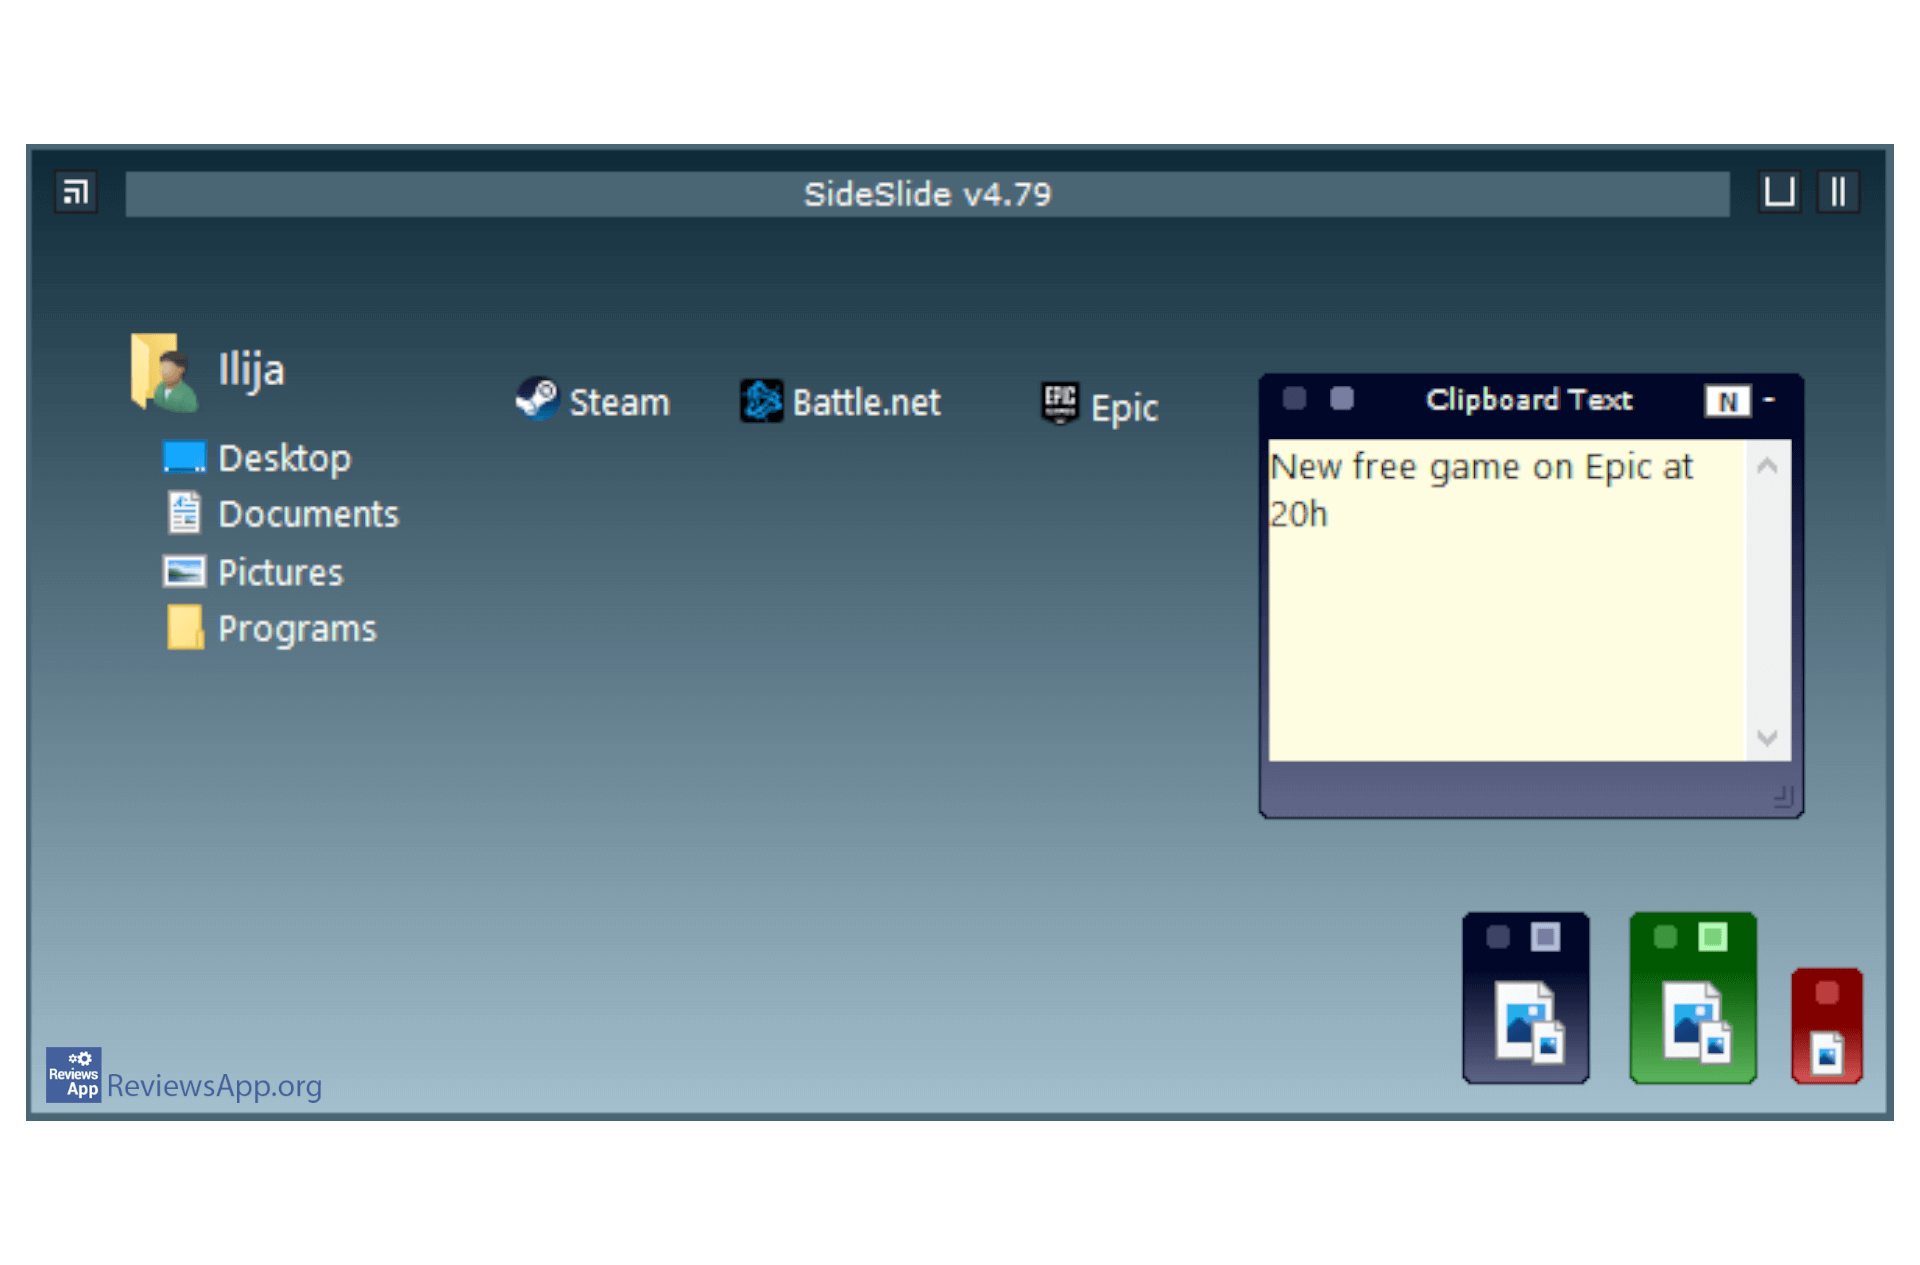
SideSlide appears as a black window, containing space for frequently used applications. It is designed to help users keep all important things in one place. The program window can be moved to any place on your desktop, and the icons can be customized and moved inside the window.
Appearance and functions
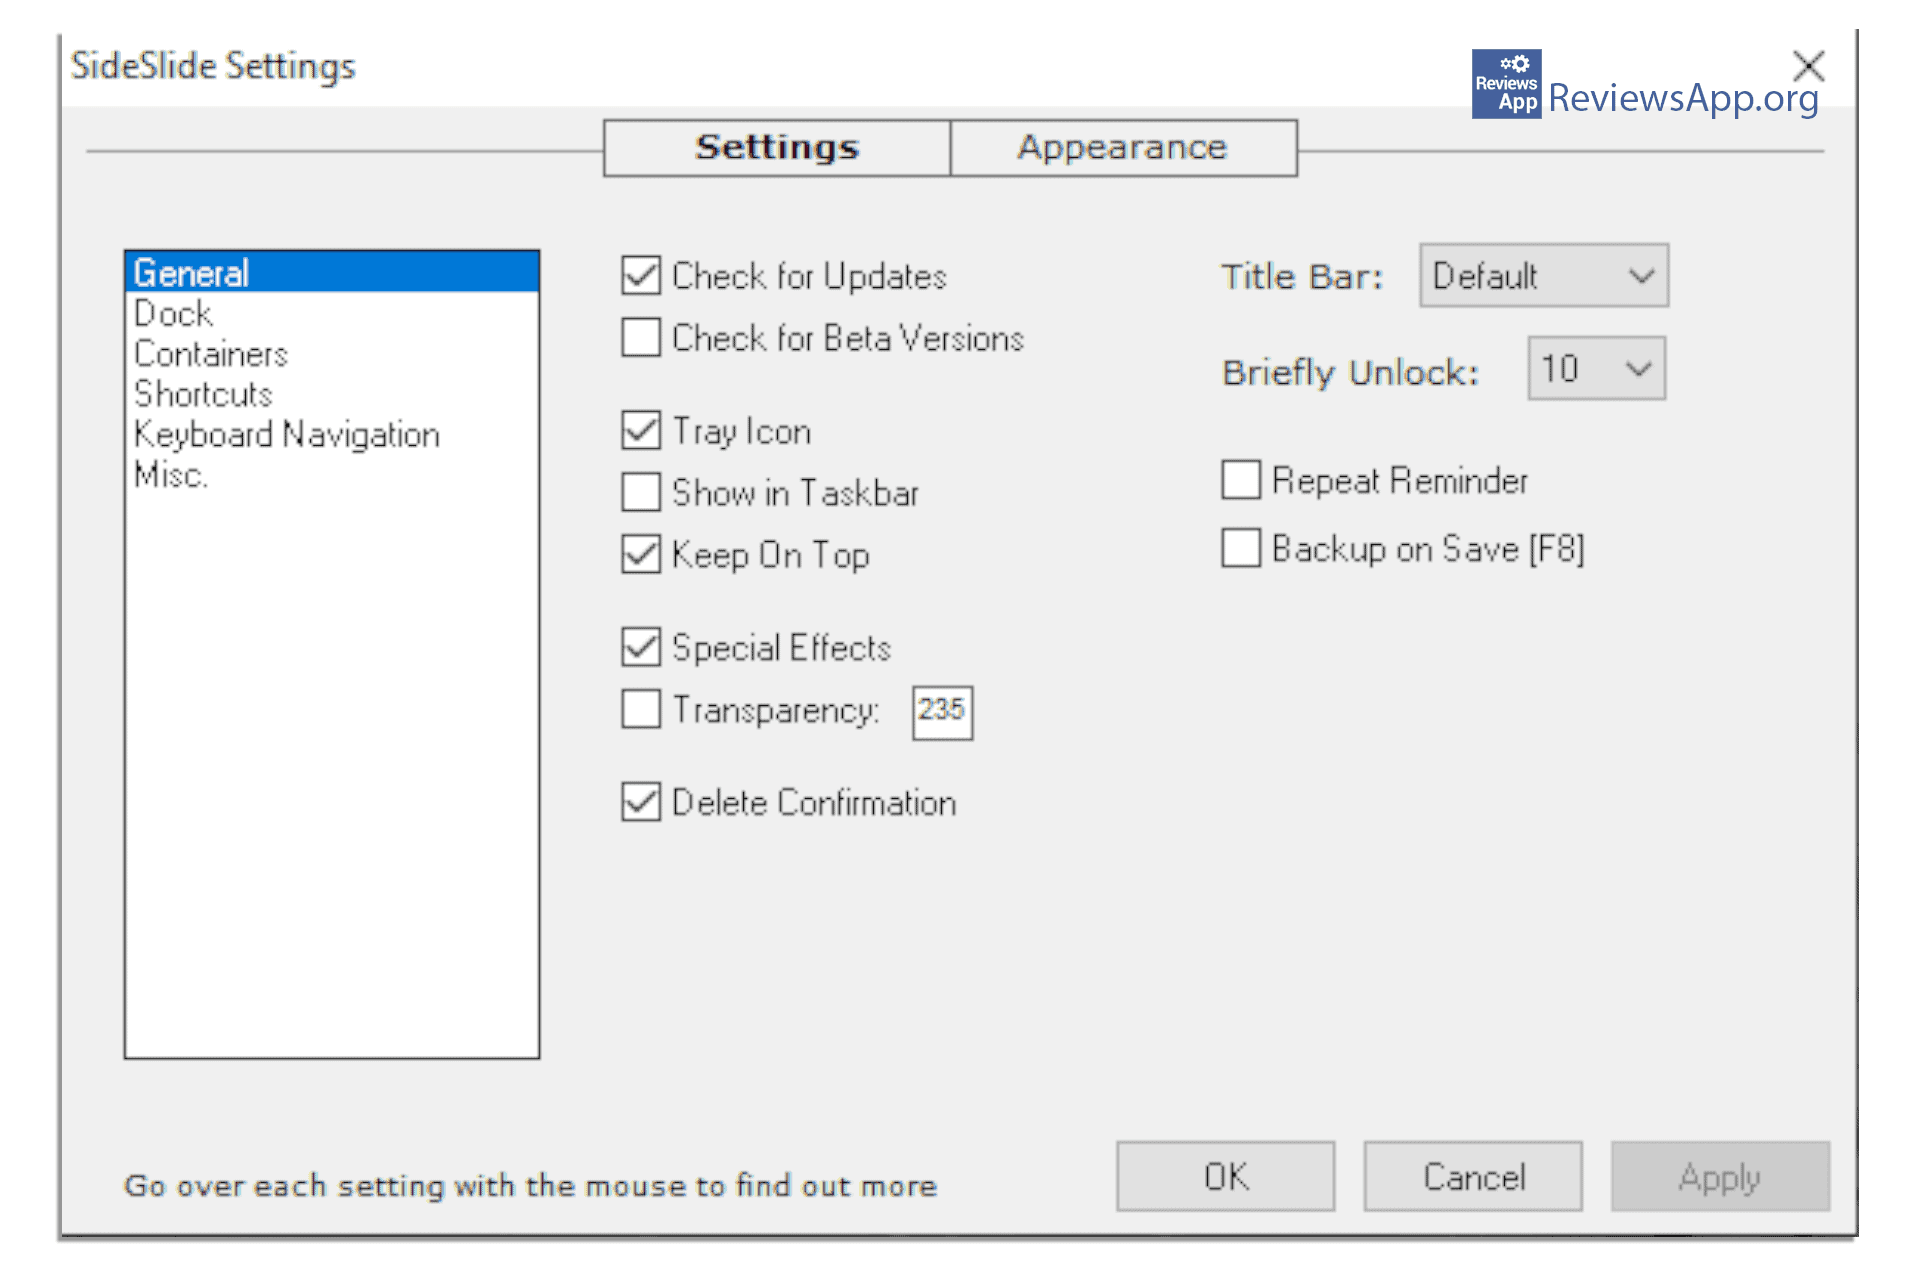
When it comes to a theme, you can choose one of the given themes or make your own. As for the options, you can adjust the colors, buttons, font, and font styles using the layout adjustment menu. In addition to the above, we noticed the possibility of presenting images (similar to the one in PowerPoint), as well as the possibility of activating several shortcuts at once, with the help of the keyboard or by clicking the mouse. Another plus for this program is the speed at which it executes commands.
When it comes to navigating through the program, you can hide the main interface so that it only appears as a thin line at the edge of the screen. Hovering the mouse over the visible bar expands the program interface. This is useful if you don’t want the main widget to be visible on your desktop all the time.
Another handy option is that you can install SlideSlide on your computer or on a USB stick and have it with you wherever you are. This is a common feature with this types of programs, and it’s important to note that shortcuts you create on one computer won’t be transferred when you use it on another computer, you’ll need to create shortcuts again. This option serves to give you an easy and quick way to access the program.
Conclusion
SlideSlide is a free program, it’s easy to use for users of all levels of computer skills. Due to the fact that it takes up only 1 MB of memory, its installation will not cost you much. We recommend SlideSlide to anyone who wants to clean their desktop and have quick access to all of their most-used programs.
Platform:
Windows 7, 8, 10
How to Use SideSlide
Video transcript:
- We will first add a shortcut
- From the folder where the program is installed, drag and drop the icon to SideSlide
- You can place the shortcut anywhere inside the window
- You can also resize the icon
- You can add as many shortcuts as you want
- You can also add a folder. Simply drag and drop the folder into SideSlide.
- Click No
- As with icons, we can place the folder anywhere inside the window, as well as resize it
- Inside the window we can make a new container. Right-click, then New and then Container
- Adjust the size and position of the container
- Inside this container we can add shortcuts as in the main window.
- The main advantage of using containers is that we can minimize them so that they take up less space.
- We can add other widgets to the main window, such as Note, in which we can type, for example, a reminder.
- It is possible to change the appearance of the program. Right-click and then click Appearance or press F4 on your keyboard
- Set the desired look and click Apply then OK
- Click as in the video to disable the interface change. This is handy to turn on so you don’t accidentally move something when you’re done editing the program.
- To hide the program window, drag the window along the edge where you want the program to be hidden. Click on the desktop and the window will be hidden.
- To open the program window, move the mouse over the thin line.

Rate:
 (1 votes, average: 5.00 out of 5)